Fabrication and Testing
Prototype Stages
The first through final prototype demonstrates the progression of our creative ideas and technical corrections. After considering each individual design throughout the ideation process, we combined aspects of each design to come up with an Automated Seedling Incubator. The final product represents our adaptations throughout the design process to reflect our best model for a minimum viable product.

Final CAD Model
Our final CAD model was designed as an automated seedling incubator. The key features we wanted to incorporate were the water reservoir, modular plant pots and a rail robot for seeding and sensing of the crops. We imagined the robotic arm to be able to rotate between two row of crops and envisioned a moveable cart to make it easier for the user to transport the crops.

Prototype 2
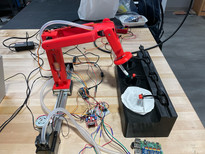
Our second prototype was able to include the robotic arm attached to the linear rail with the water tank placed on the top shelf as demonstrated in the CAD model just for the purpose of showing that the irrigation system works. The robotic arm and plant pot holder were both 3D printed for easy fabrication and time purposes. For this stage of the process, we had the linear rail and the water system working completely.

Prototype 1
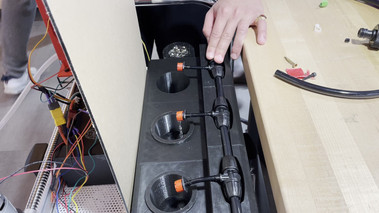
Our first prototype was simplified to a singular linear pot holder and included a linear actuator for the robot arm to be attached to. We incorporated the idea of a mobile cart but quickly realized that having more than two degrees of freedom on the robotic arm would be a challenge and so we opted for just a single row of plant adjacent to the arm. The watering system was chosen to use a drip irrigation system that would be controlled by an automatic water pump to make sure the system would be fully automated.

Final Prototype
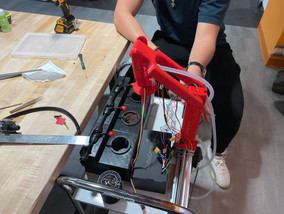
Our final prototype incorporated all of the ideas we had in our initial CAD design, with a few modifications. The main change we made from prototype 2 was adding the electronics and an automatic water pump to ensure that the main system would be on the top shelf. The system was designed to be fully automated as initially envisaged. The final prototype also conducted the main functions that we wanted including seeding, soil sensing and automatic watering, with the addition of a modular system that can easily be expanded.
Testing Gallery
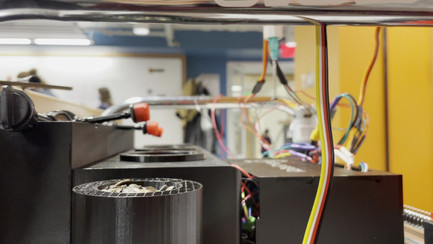
Throughout the fabrication process, the team was able to test components individually before adding them together. Below is a gallery of some of the testing done for individual components as well as testing done for the whole system together. The gallery also includes some fabrication techniques that we used such as 3D printing and using a Dremel. My main role throughout the project was to design and create the plant pot structure along with the watering system. However, I leant a lot about the electronic functionality of the system and most importantly the need to adapt and modify designs when working as a team to ensure everything fits together.


